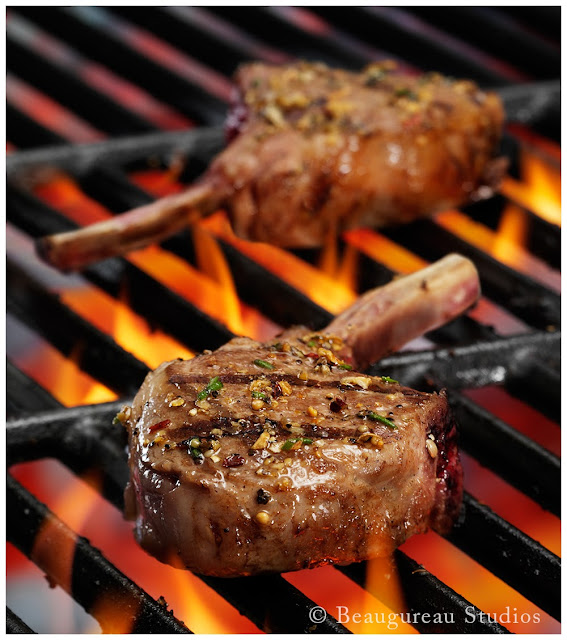
Our client requested both a searing on-grill shot and an impressive plated shot of single rib portions. We started with a full rack of lamb and our food stylist, Janet Middleton, cut the rack into chops.
 |
| Fired-Up Lamb Chops. |
The concept was to create an outdoor shot, but keep the control afforded by our indoor studio. We rigged up a stationary grill top, and used a long lens (150mm) to come in close on the food. This accomplished a few key points: 1. We could capture the nicely charred look of the meat and juicy accents. 2. We didn't need to use an actual grill in the studio; using a real grill limited our lighting freedom and perspective. 3. We would have had a large black rim surrounding the food and a very shallow bowl for the coals; we also didn't want it to look like the grill grate was resting right on the coals.
In our set up, we had a huge bed of coals farther under the set, allowing us to use our lights to illuminate them, without affecting our food/set high above it. Creating the appearance of a grill also allowed us to have our light sources unimpeded by the black rim of most grills and we were free to light 360 degrees around the food. We had numerous lighting sources. Again, we wanted to create an outdoor feel, so we had to recreate the sun as well as the sky. We put a very large broad source above the set to emulate the sky and control our shadows and contrast. We then positioned a point source coming from the front right to represent our sun. A meat shot really benefits from specific highlights, so we brought in a "meat light." This is a very small point source light, which we placed behind the meat, to highlight the juiciness and detail on top of the meat. Since our coals and fire were too low to cast any real light from the underside of the grate, we put a point light source under the food as well, to simulate the fire. We also focused a light on the coals, so they would be appropriately lit.
We wanted to show the chops at their tender peak of perfection, so Janet cooked the lamb quickly and achieved well-defined grill marks. We timed the shots beautifully and even caught detailed herb and seasoning particles intact on the surface of the perfectly grilled meat for the plated shot.


